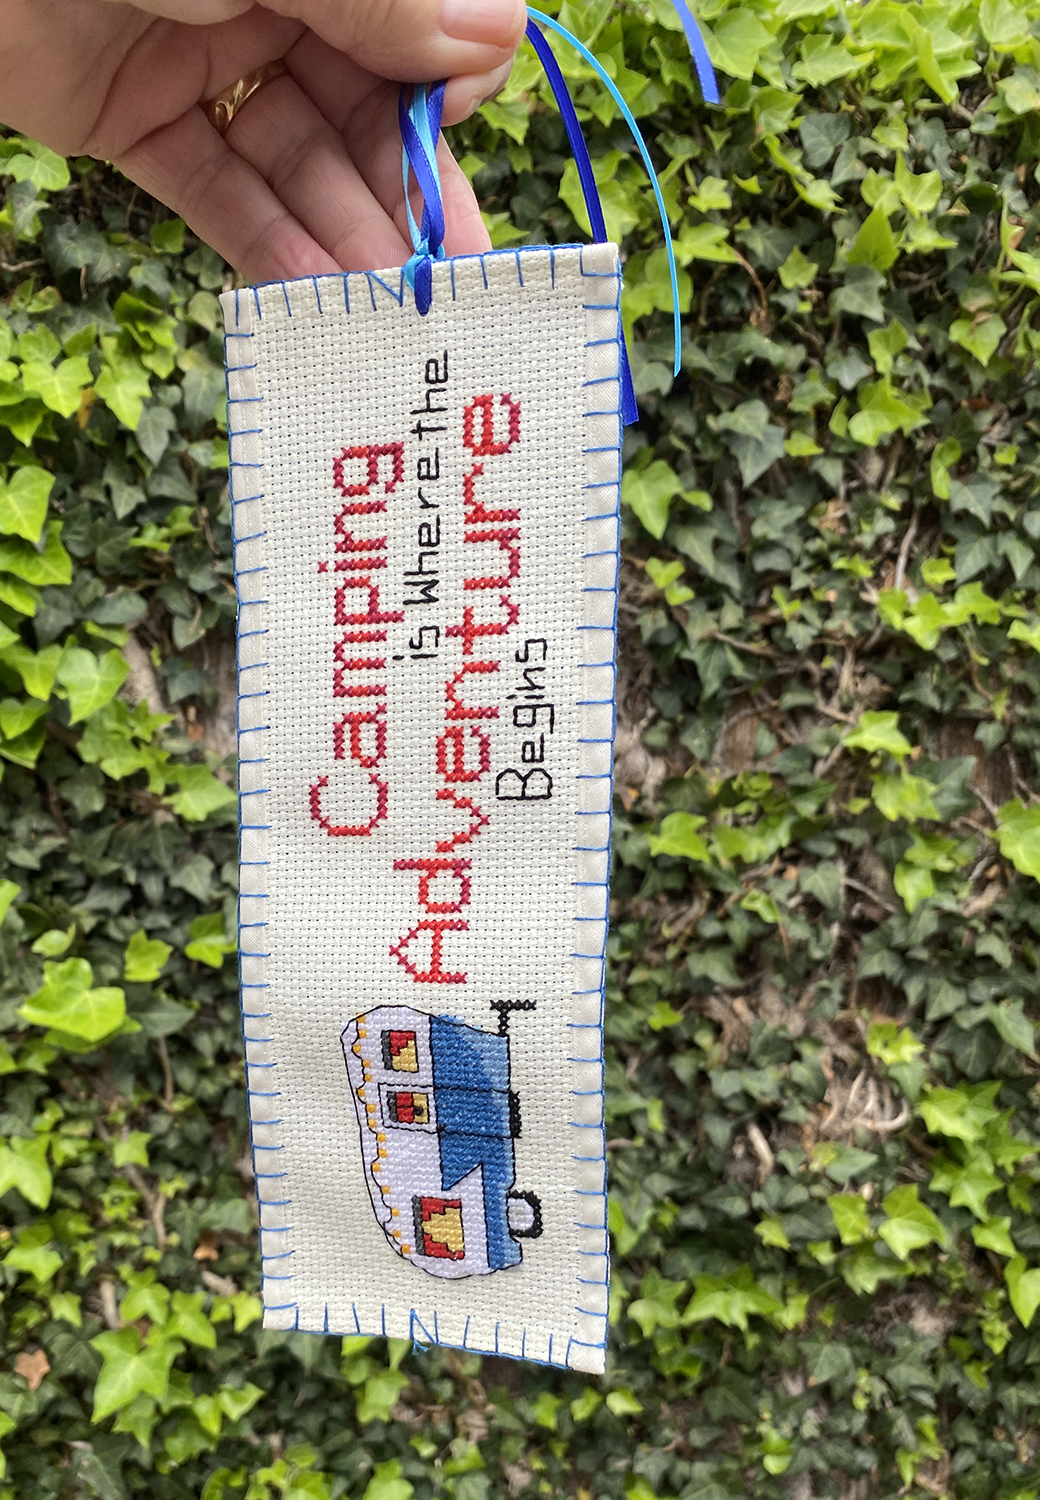
How To Make a Cross Stitch Bookmark
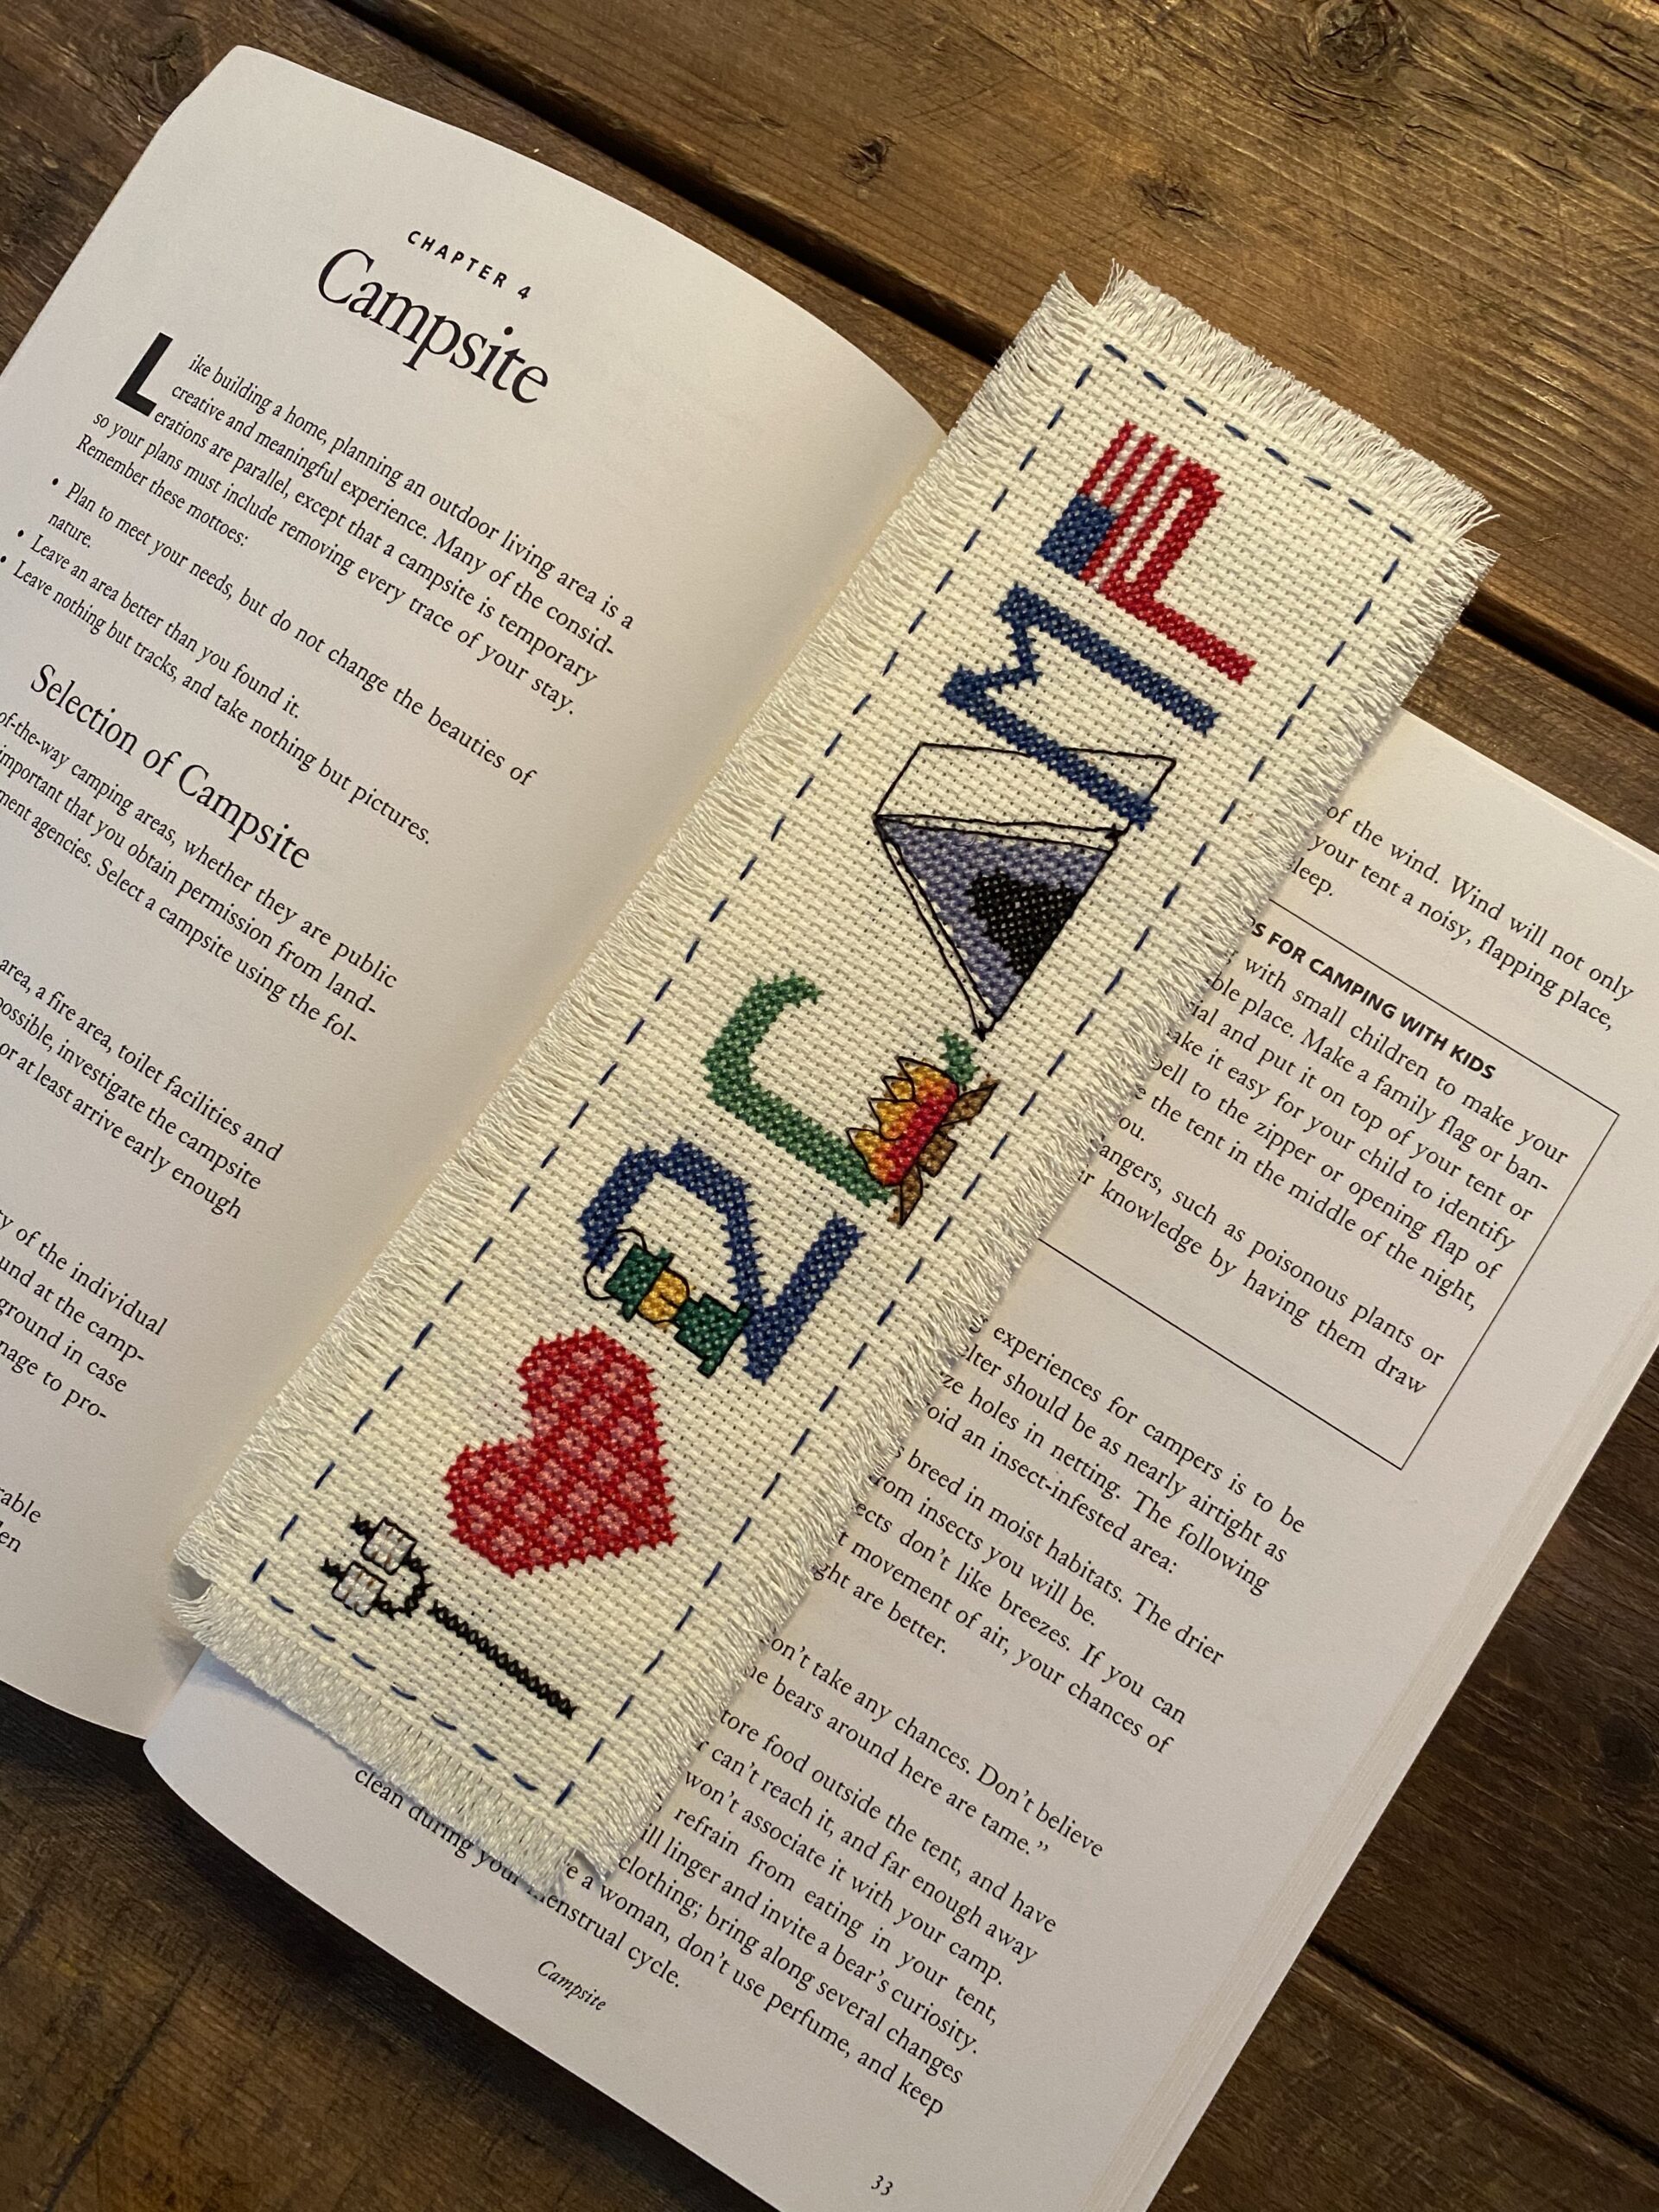

HOW-TO WITH AIDA CLOTH BACKING AND FRAYED EDGES
HOW-TO WITH RIBBON BACKING AND BLANKET STITCH
1. Complete your Cross Stitch Pattern. This design is appx 9″ x 2″
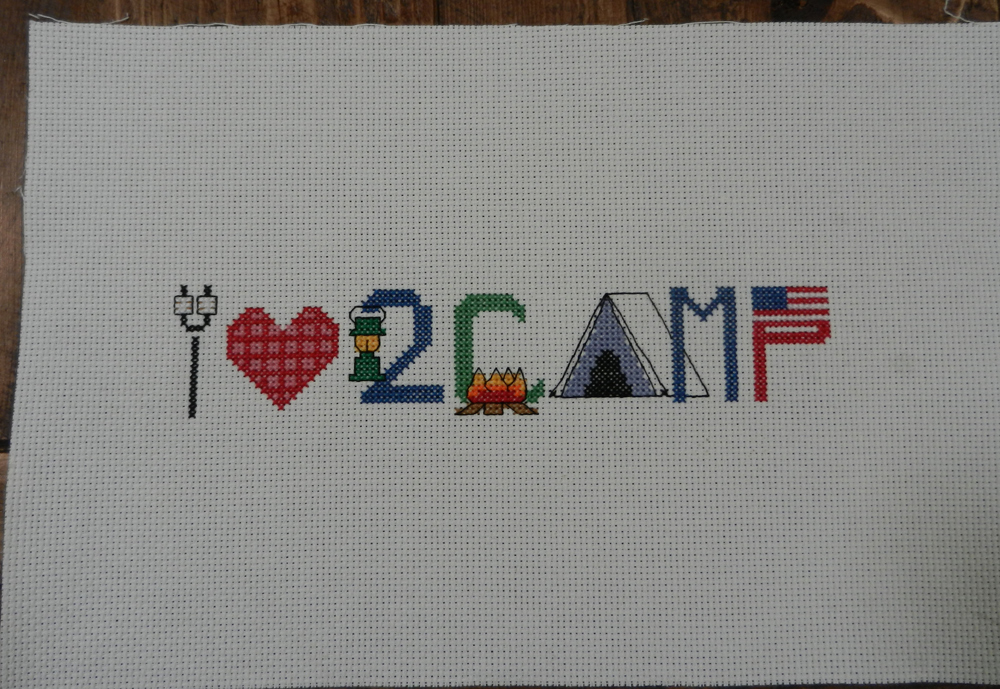
2. Measure about an inch from your pattern and pin to mark the line you will want to trim on.
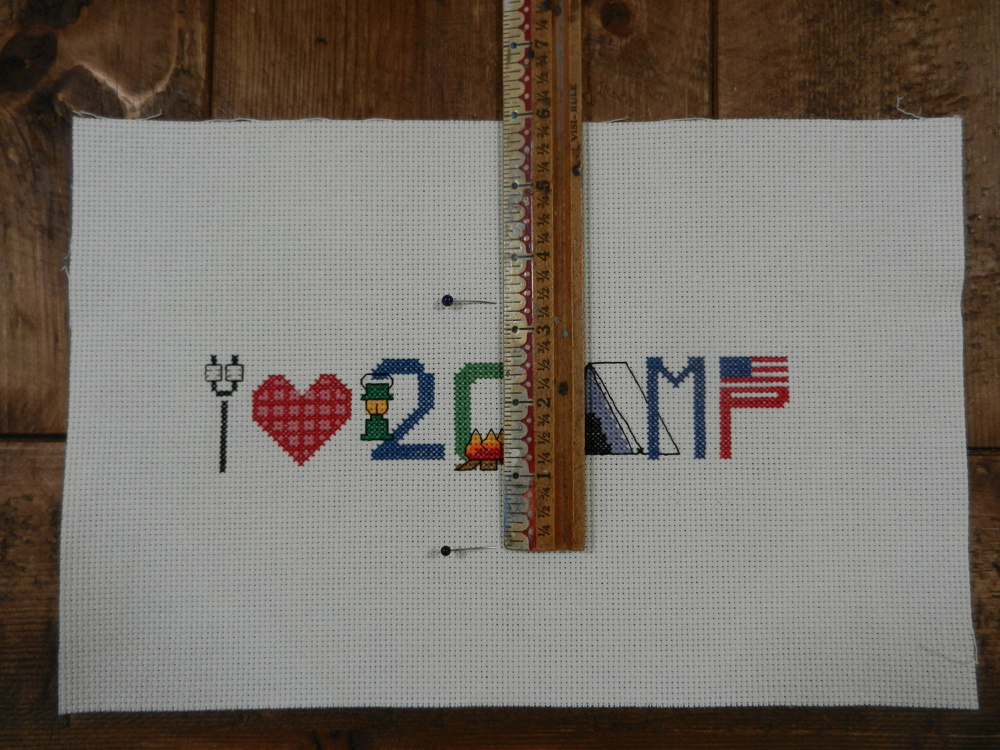
3. The measurements have been made and it is all marked and ready to trim.

4. Cut a back piece to match your front piece. Make sure to follow your cross stitch fabric and trim a straight line.
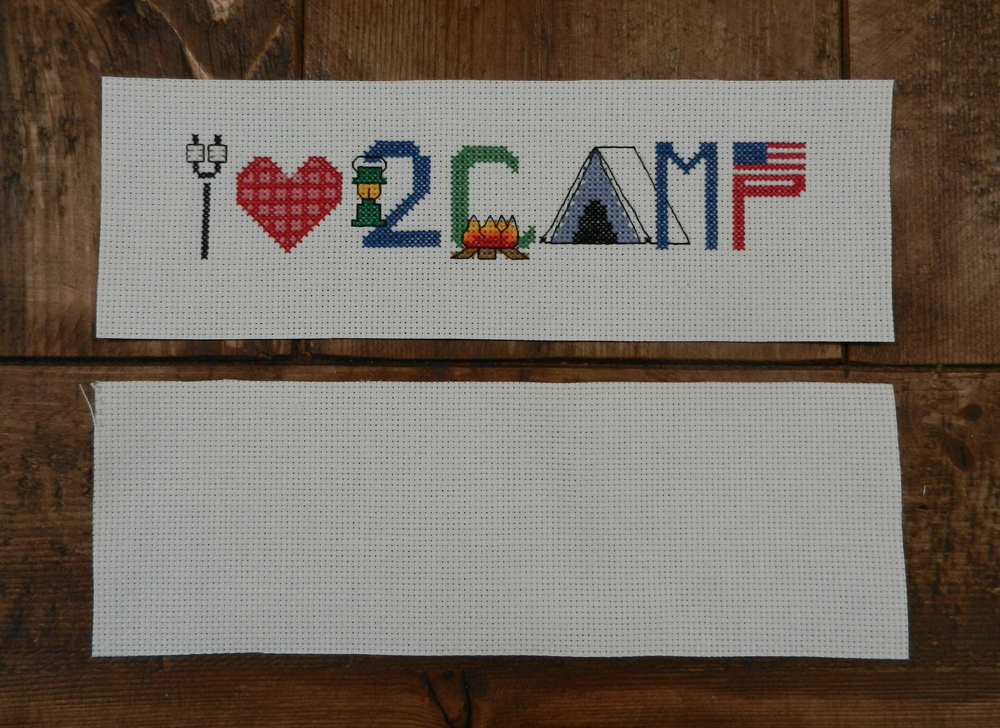
5. Match front to back and pin.
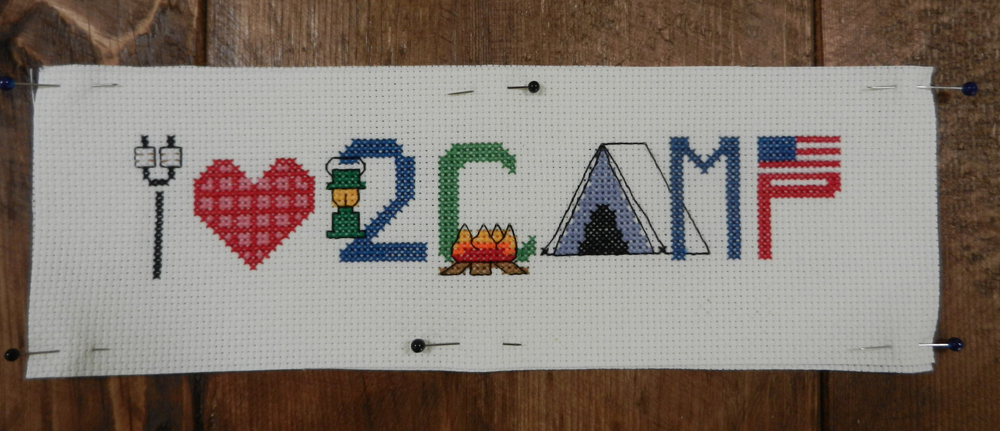
6. Sew around your pattern. I measured 4 rows on my Aida cloth out from the pattern. I used 2 strands of thread and sewed up and down skipping two squares each time. I was careful and matched up the holes on front and back.
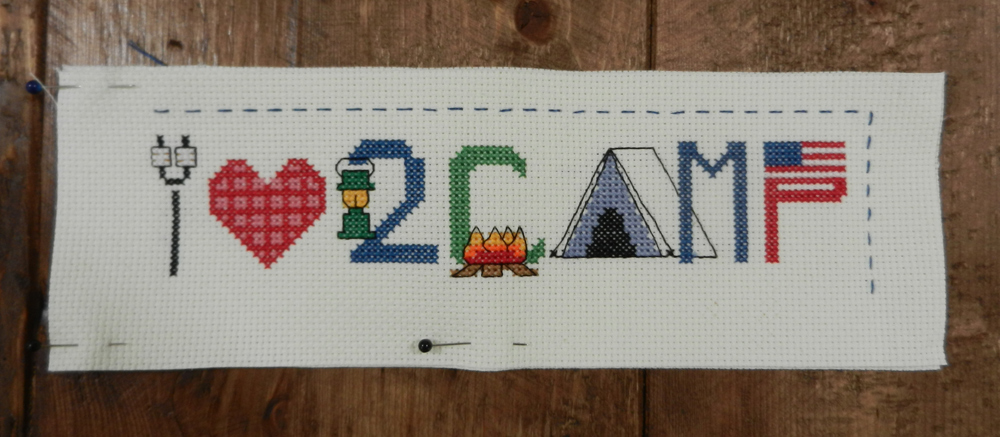
7. Leave your tails lose. When you start with your second length of thread, tie the two together.
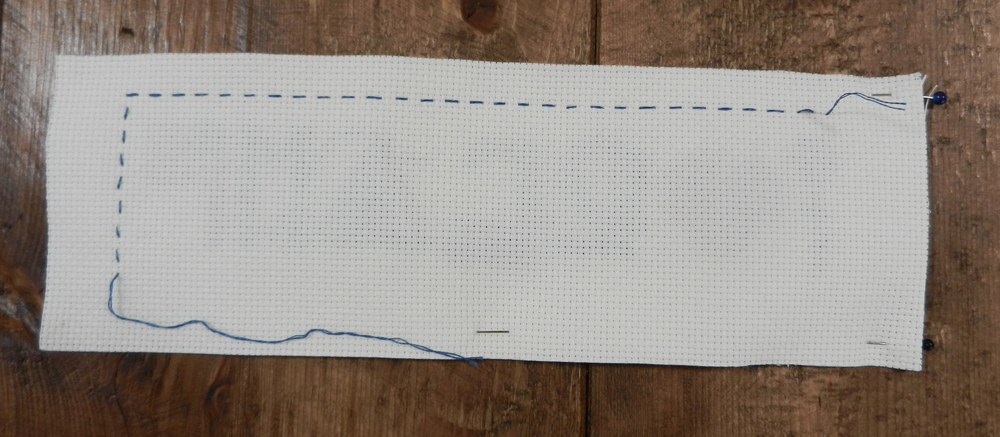
8. Tying the two threads together
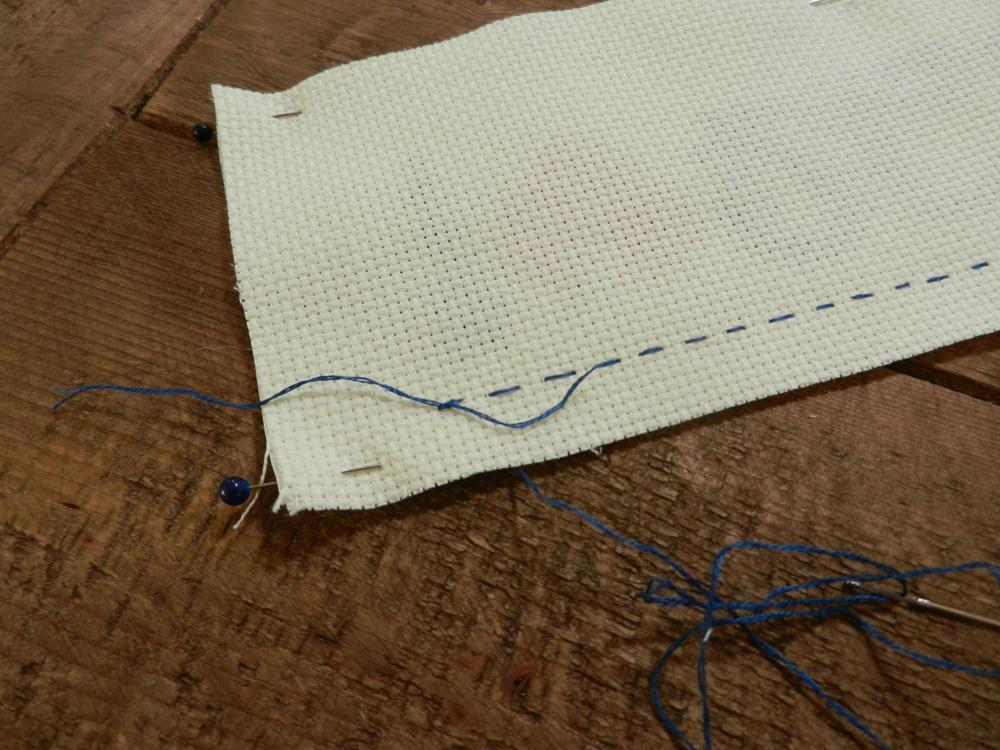
9. The sewing is complete.
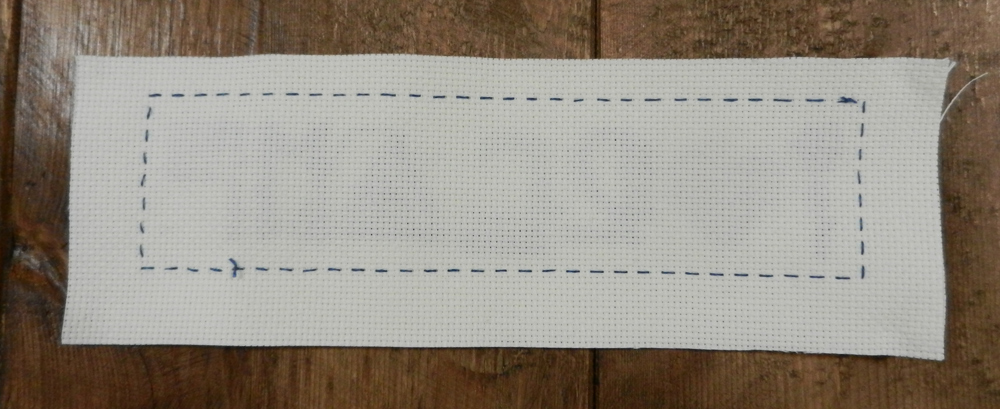
10. Now, you are ready to trim it down a bit.
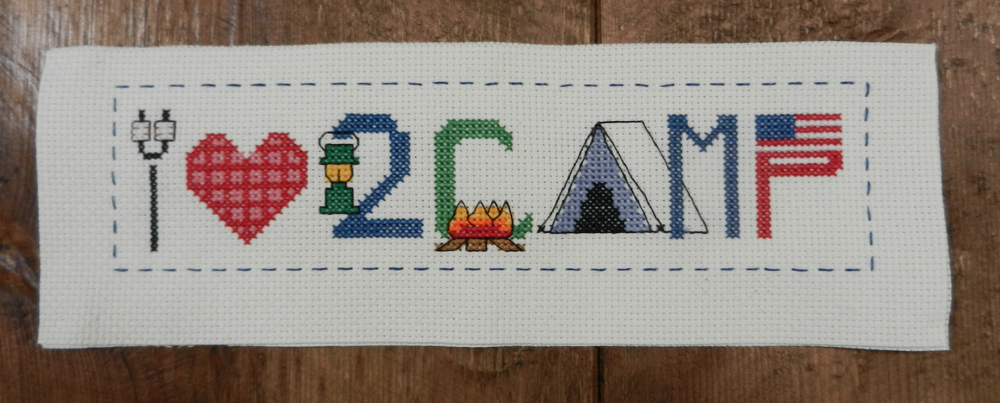
11. I counted 6-7 squares from the stitch line and trimmed around the stitching
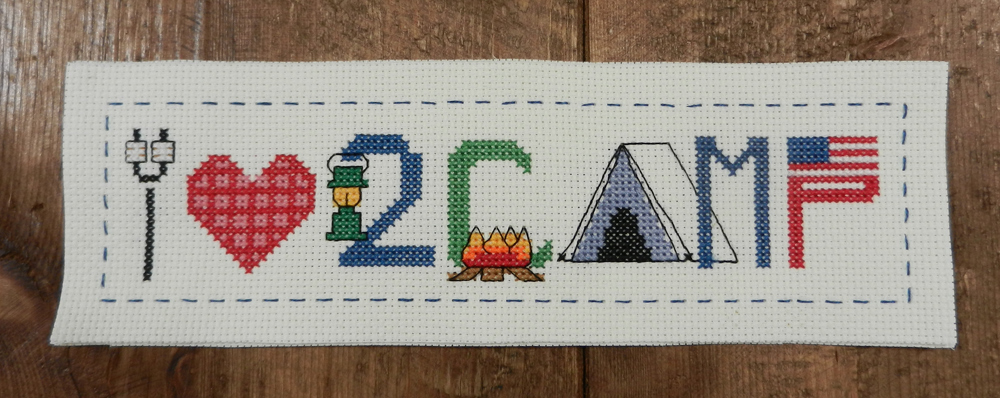
12. Take a needle and start to pull out the threads,
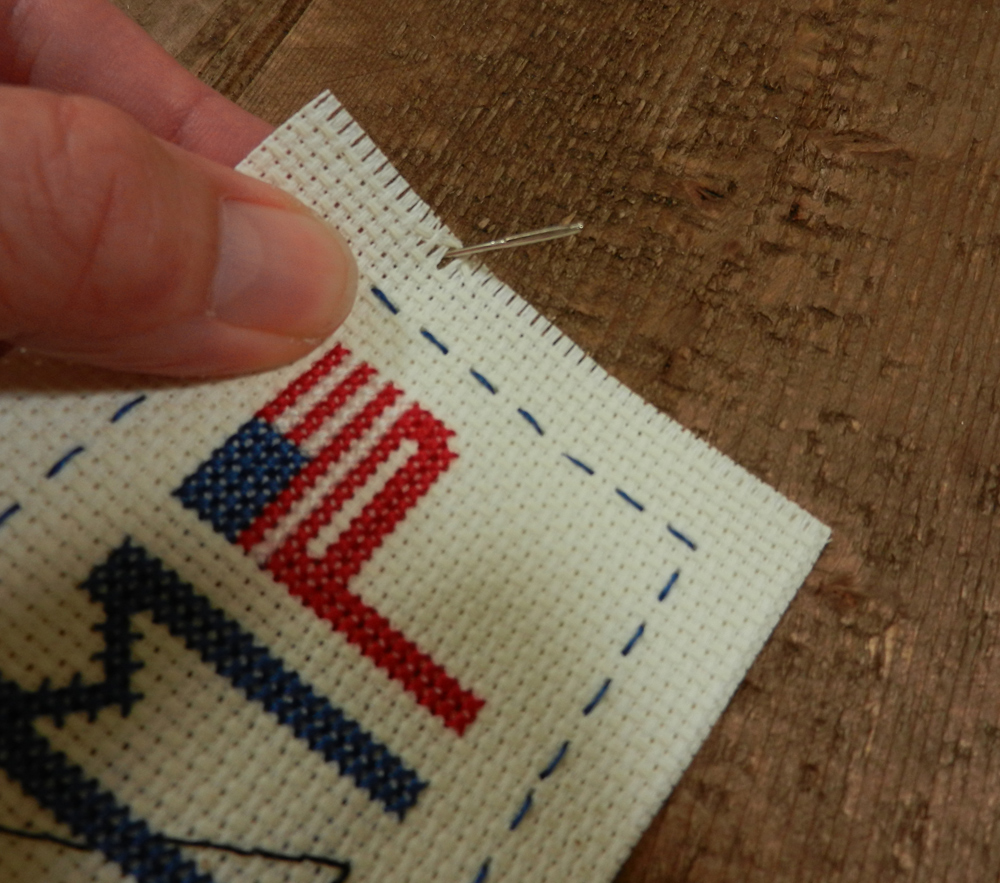
13. Do a little at a time to make sure you don’t pull too hard and have it affect your pattern.
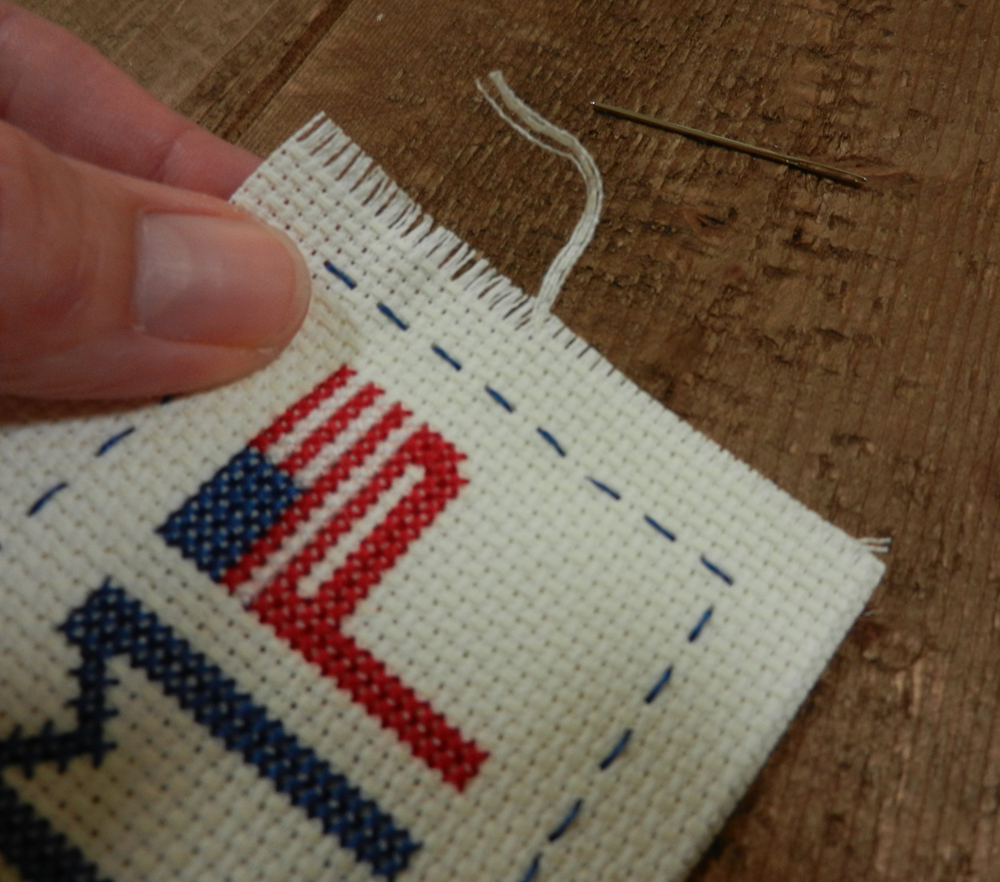
14. Sides are pulled and ends are now frayed.
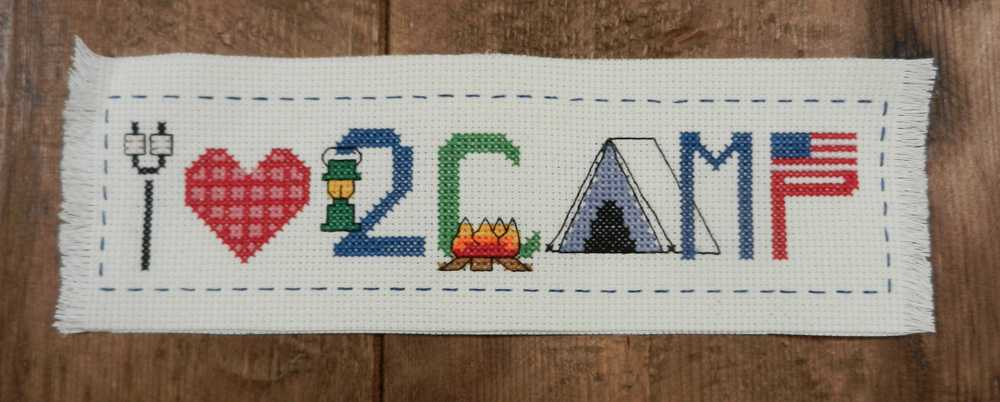
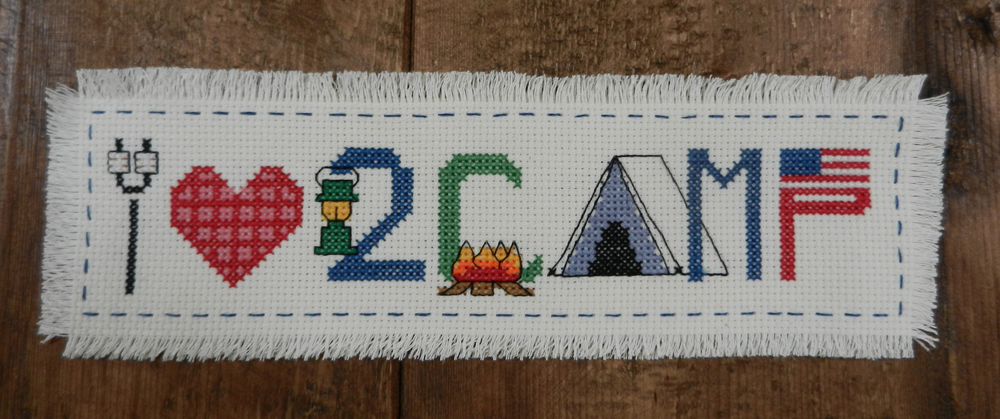
15. All done! Both sides are now frayed.
1. Complete your Cross Stitch Pattern. This design is appx 8″ x 3″. If you purchased the kit from our Etsy store, your long edges will already be finished with bias tape. If they are not finished, you can sew bias tape on the edges or tuck them under.
Cut your piece of ribbon to the desired length

2. Iron both ends, on the aida and the ribbon, the desired length / size you wish. Yep … the back of my cross stitch is messy. That’s just how I roll .. ha ha …

3. Pin the back to the front.


4. Stitch the edges. I used a blanket stitch.
Here is a How-To for this stitch
5. I took two thin pieces of ribbon, threaded them on a needle and went through the Aida and the Ribbon. You can finish your bookmark with ribbon or a tassle.

